

HumioHelp
Main Menu
The main menu is the starting point for working with the anatomical model. Here you can choose the anatomical system, section such as bones, ligaments or muscles, and open a specific body region.
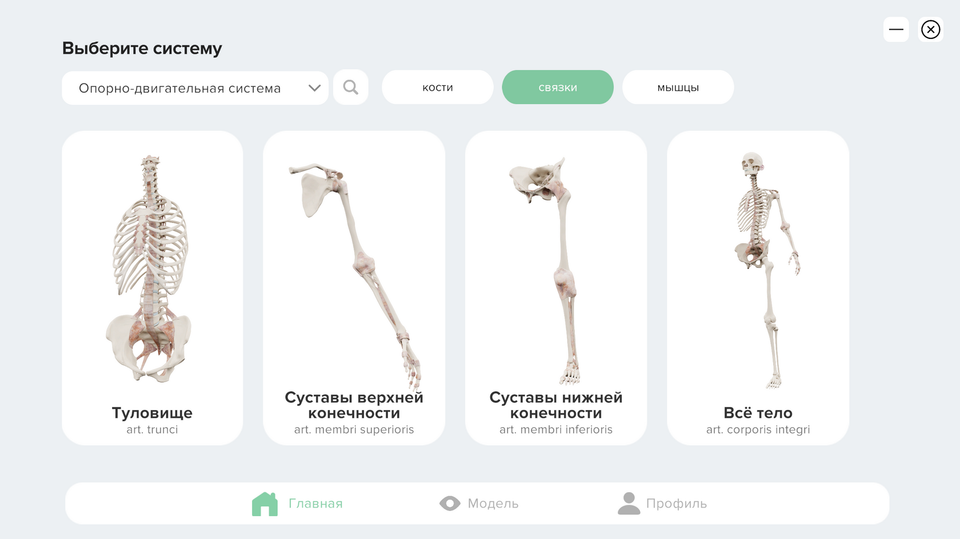
At the top of the screen there is a Choose system dropdown. The musculoskeletal system is selected by default. To choose another system:
- Tap the dropdown menu.
- Choose one of the available systems.
To open a model, choose a suitable preview and tap it.
Model Screen
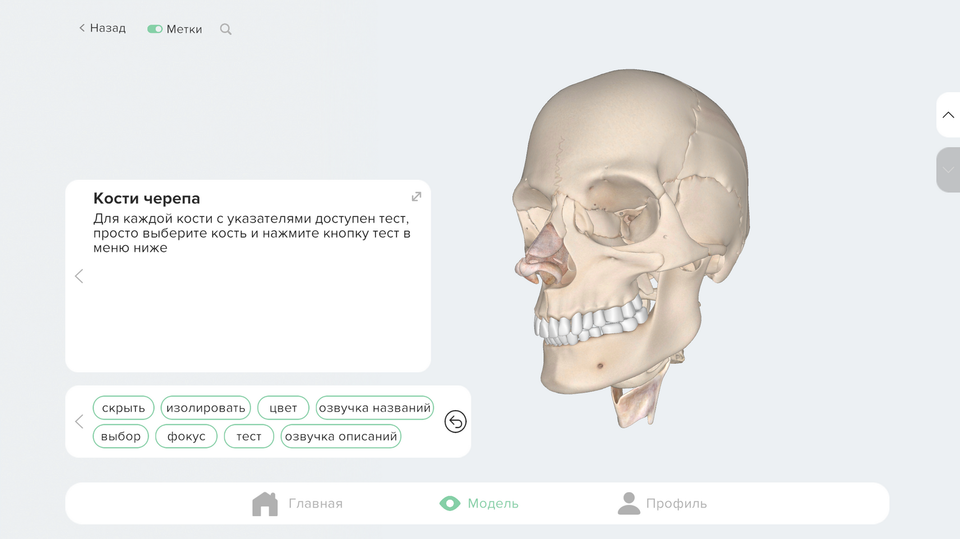
The model screen opens after you tap a preview or the Model button in the bottom menu. You can study the model using these gestures:
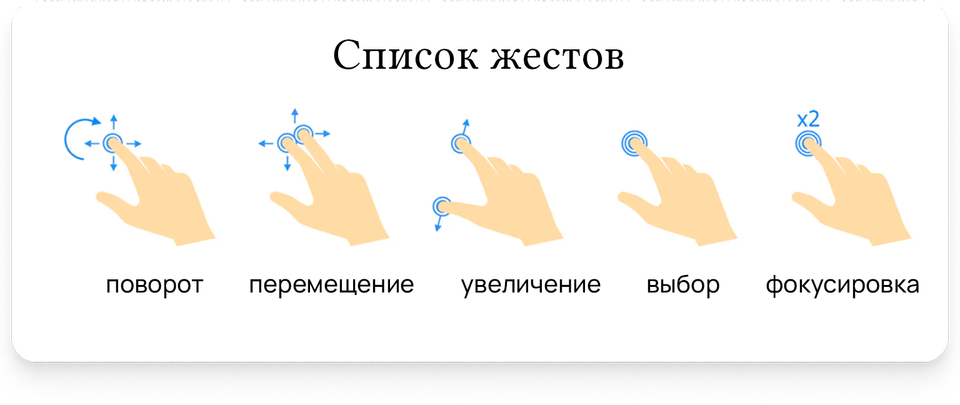
Basic Gestures
Rotate — drag with one finger, or hold the left mouse button, in any direction to rotate the model and view it from different angles.
Pan — drag with two fingers, or hold the right mouse button, to move the model around the screen.
Zoom — pinch with two fingers or use the mouse wheel.
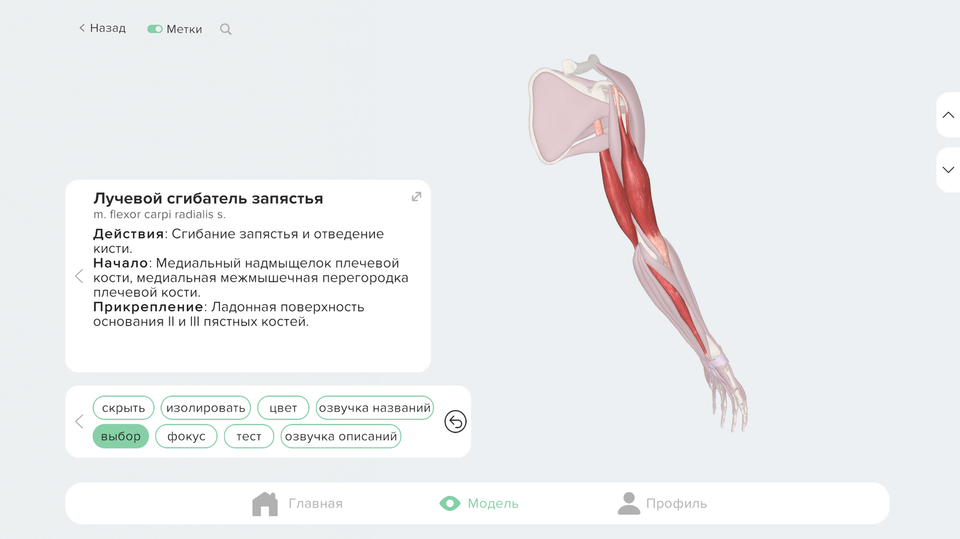
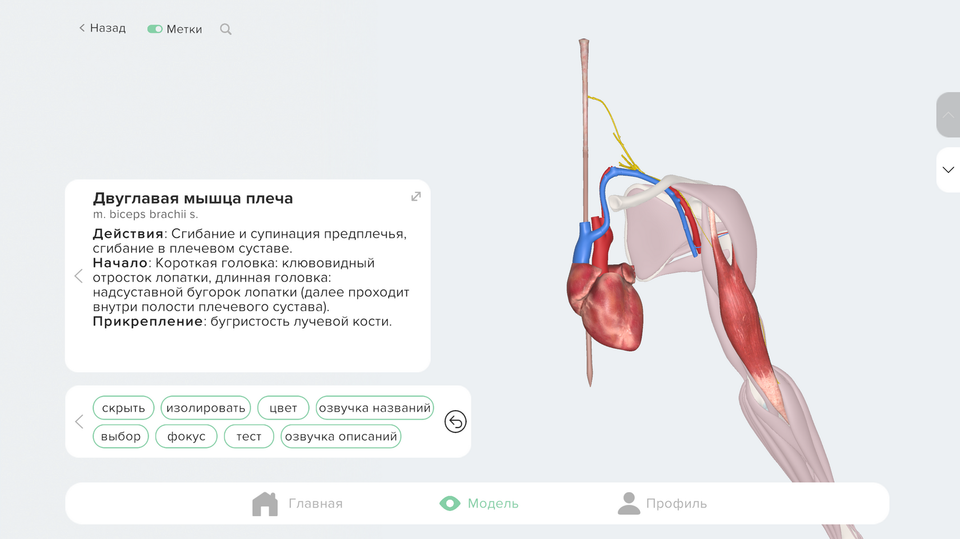
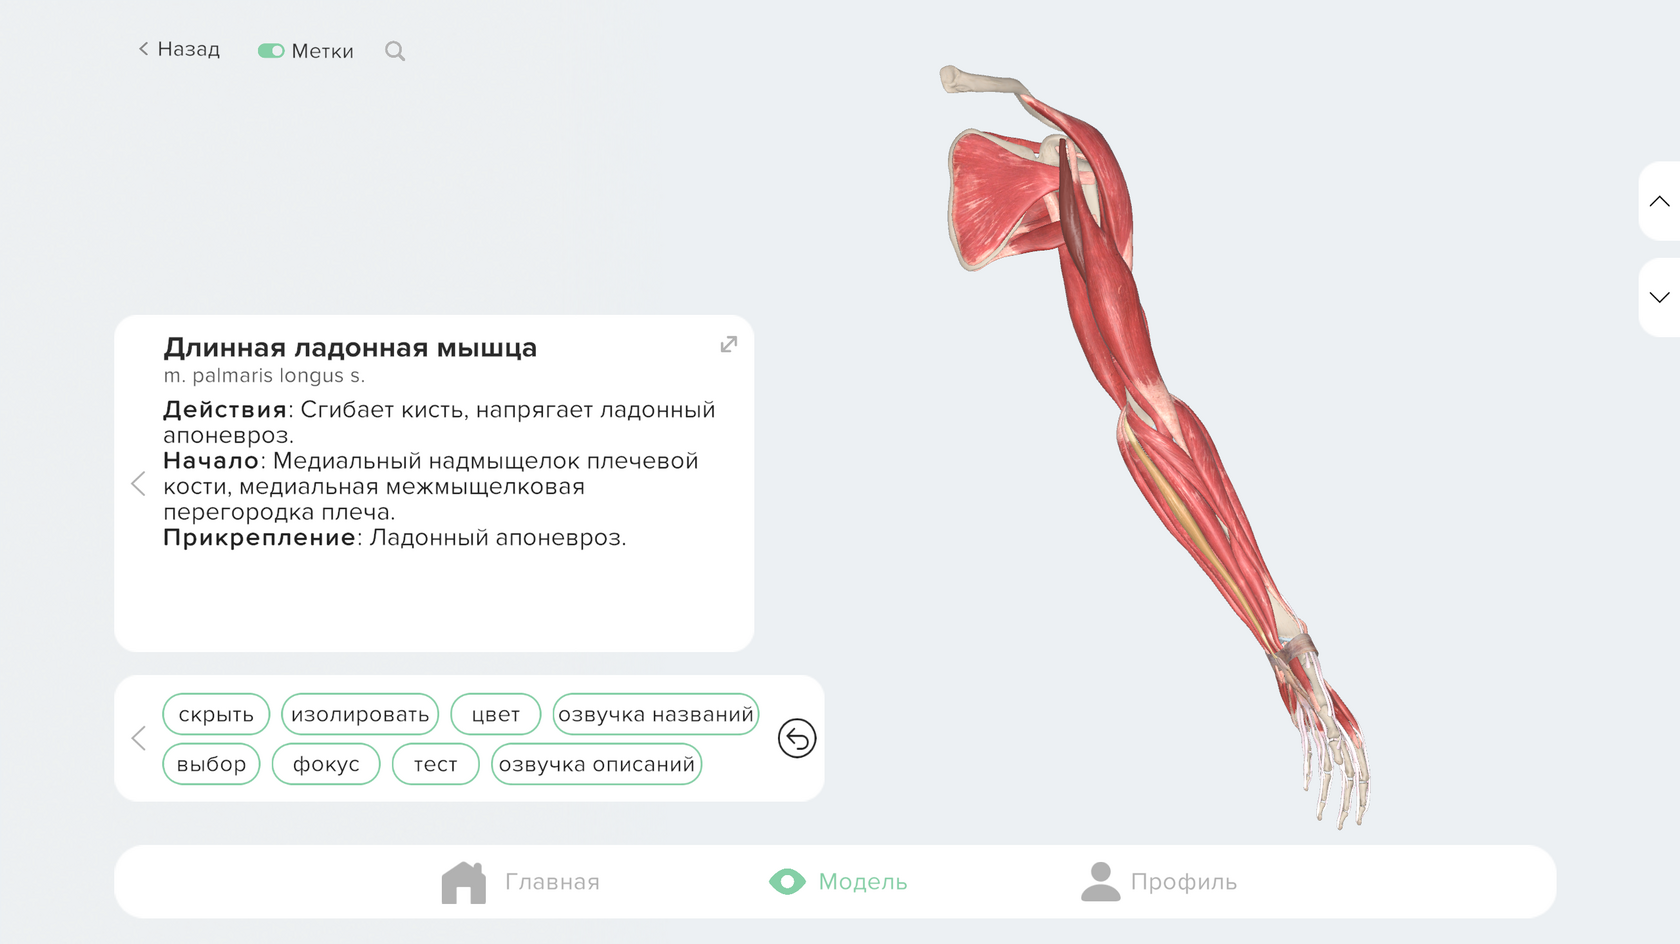
Select — tap once, or left-click, an object to select it for tools. The information panel then shows its name, Latin name and description.
Clear selection — tap an empty area to clear the current selection.
Focus — double-tap anywhere on the screen to focus on the center of the model.
Model Tools
The toolbar is at the bottom of the screen, below the description panel. It includes modes and single actions. A mode turns on when you tap its button and remains active until you tap it again.
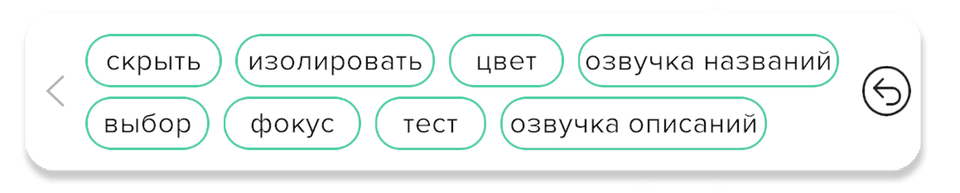
Modes
Select — enables multiple selection. After selecting one element, tapping another does not clear the first selection. This lets you isolate, hide or test several elements together.
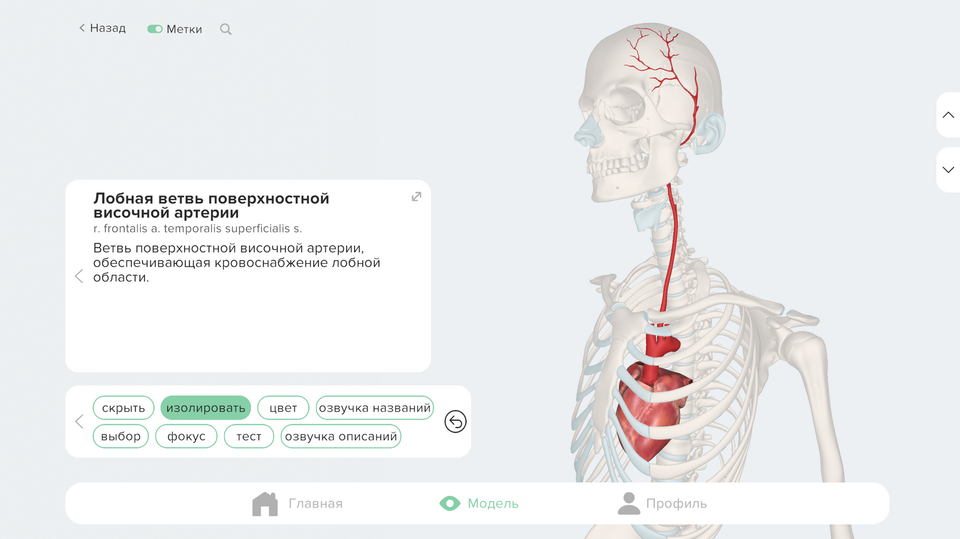
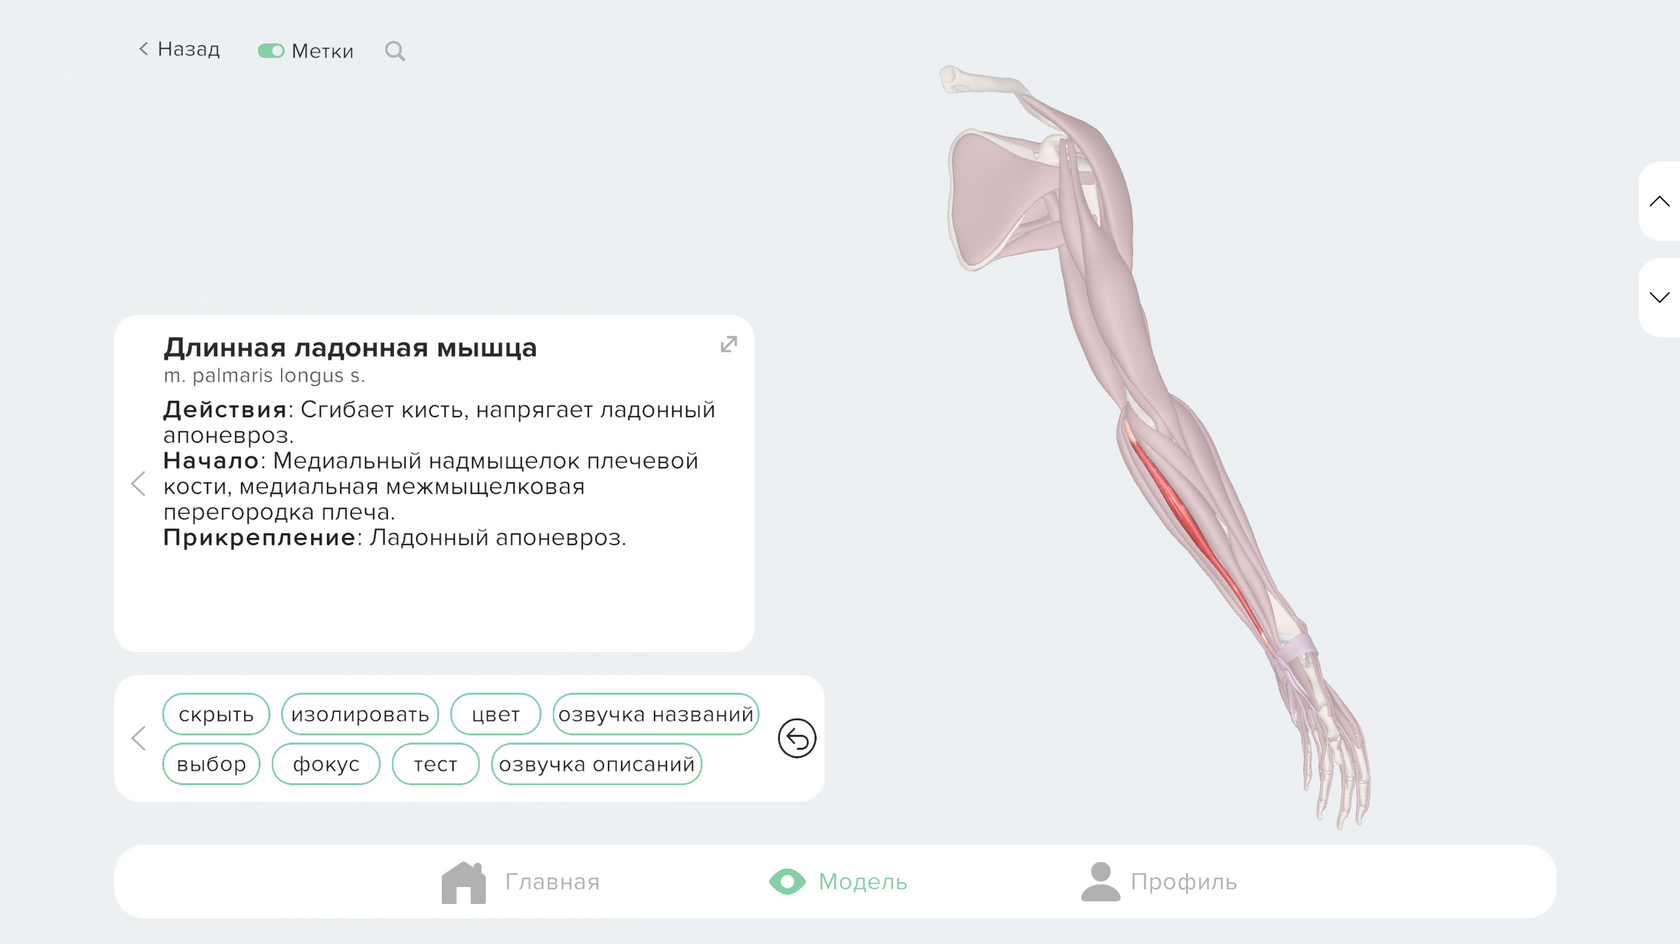
Isolate — hides all elements except the selected ones. For vessels and nerves, smart isolation shows the full path from the heart or CNS to the selected element.
Name voiceover and description voiceover — these buttons enable voiceover modes. When you select an element, Humio can play its name, its description, or both if both buttons are active.
Test — to start a test, select any element and then tap Test. If you select one or more bones, all pointers for those bones enter the test. If you select another element type, the test uses visible elements of the same type. For example, selecting a muscle starts a test over all visible muscles. To test a specific muscle group, hide everything else or select the group, isolate it, and then start the test.
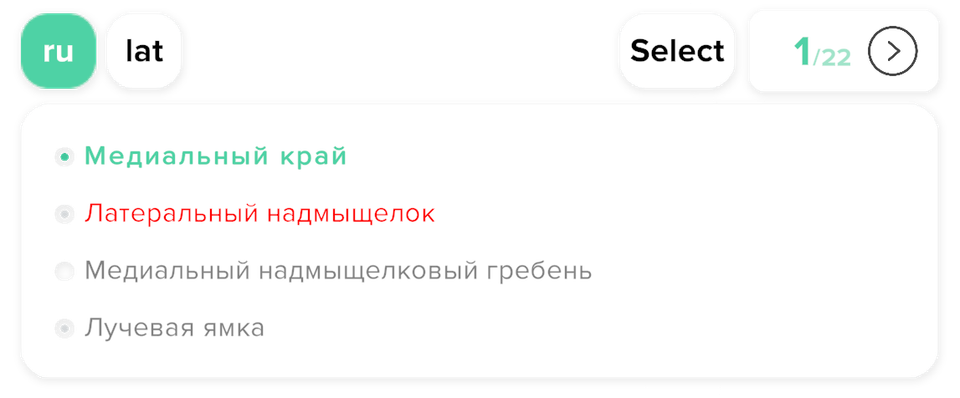
After a test starts, the test panel opens. In the upper-left corner you can choose the test language with RU and LAT buttons. In the upper-right corner you can switch between Select and Type modes. In Select mode, choose 1 correct answer from 4 options. In Type mode, type the answer and choose one suggested option. To move to the next question, answer the current question first, then tap the arrow circle in the upper-right corner.
Single Actions
Focus — centers the camera on the selected element or, if nothing is selected, on the whole model. This is useful if the camera has moved away from the model. You can also focus by double-tapping or double-clicking.
Hide — hides selected elements. You can restore them with Back.
Color — colors elements uniquely so they are easier to distinguish. When an element is selected, all objects of the same type are colored, such as only muscles or only arteries.
Back — undoes the last action.
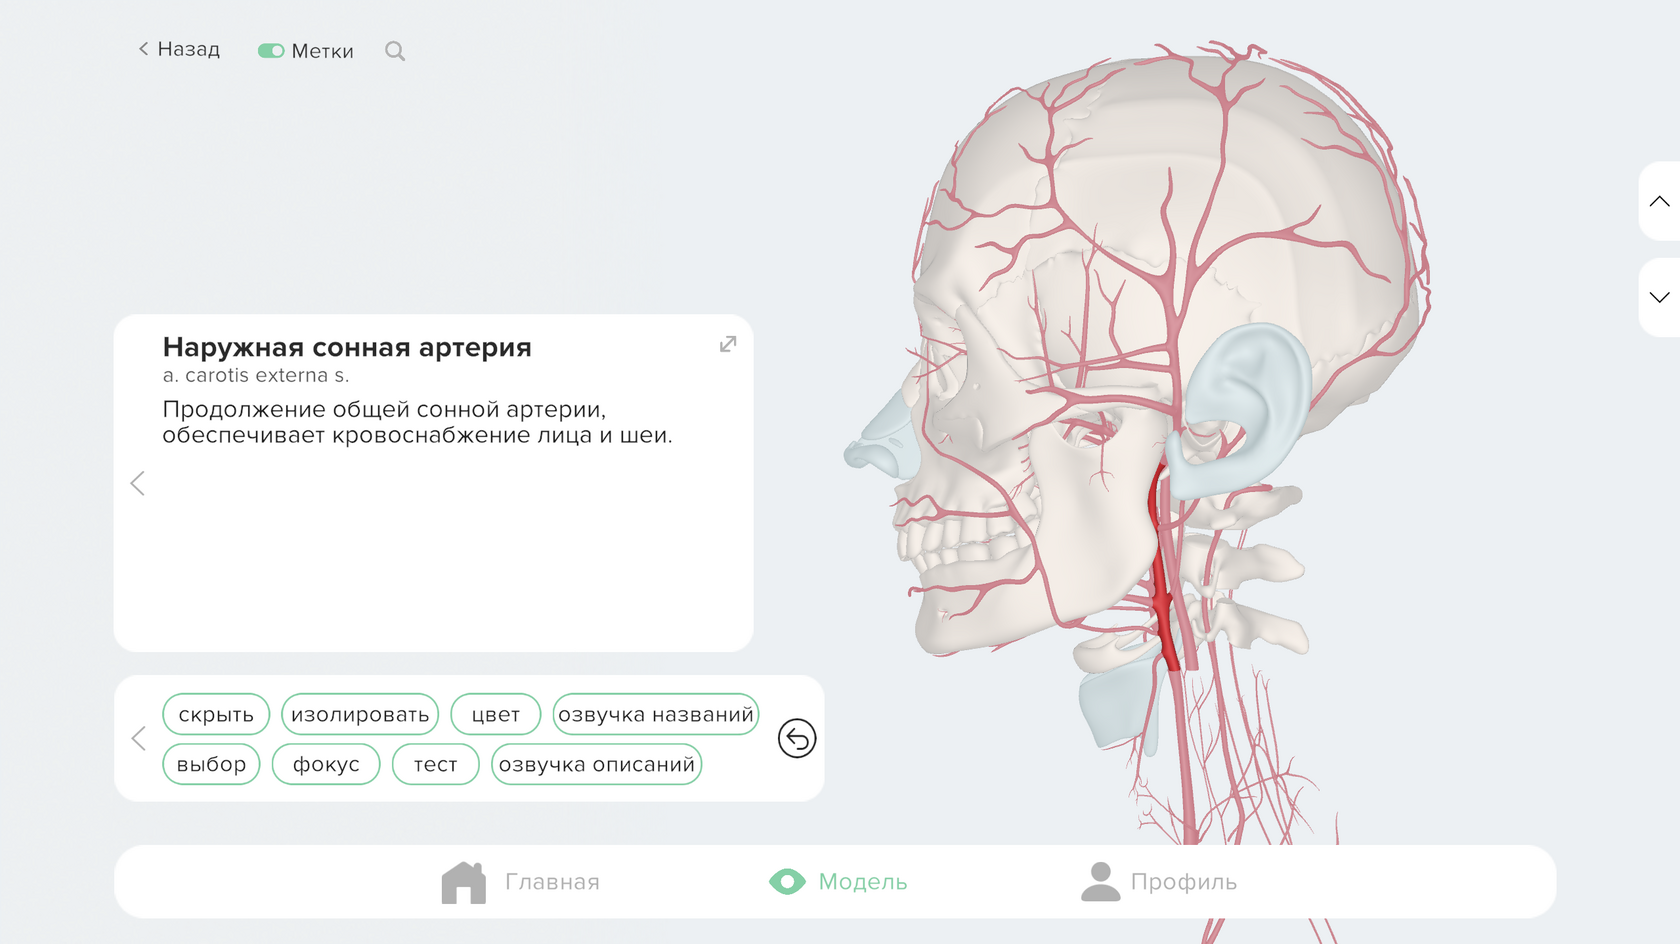
Layer Navigation
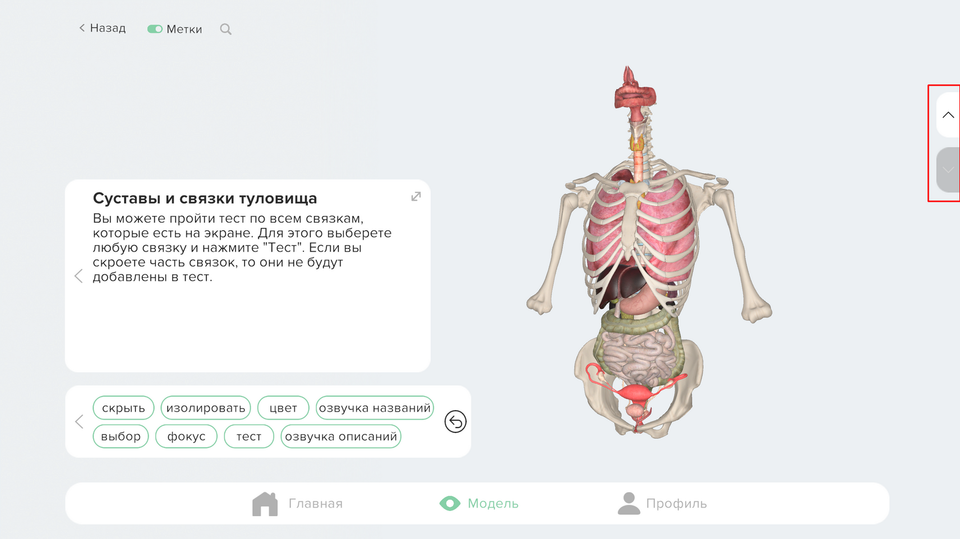
The up and down buttons are on the right side of the screen. They control layer navigation and relationship/cross-section output.
Layer navigation — is activated by these buttons when no object is selected. The Up button adds additional layers, such as muscles, then vessels, then nerves. The Down button hides layers.
Relationships and Sections
When an object is selected, tapping Up shows objects related to it, while tapping Down shows a section of the selected object. Relationships are displayed as follows:
Bones — if a bone is selected, Up displays all muscles connected to it.
Muscles — arteries, veins and nerves supplying or innervating the muscle are shown.
Vessels and nerves — structures supplied by the selected vessel or innervated by the selected nerve are shown.
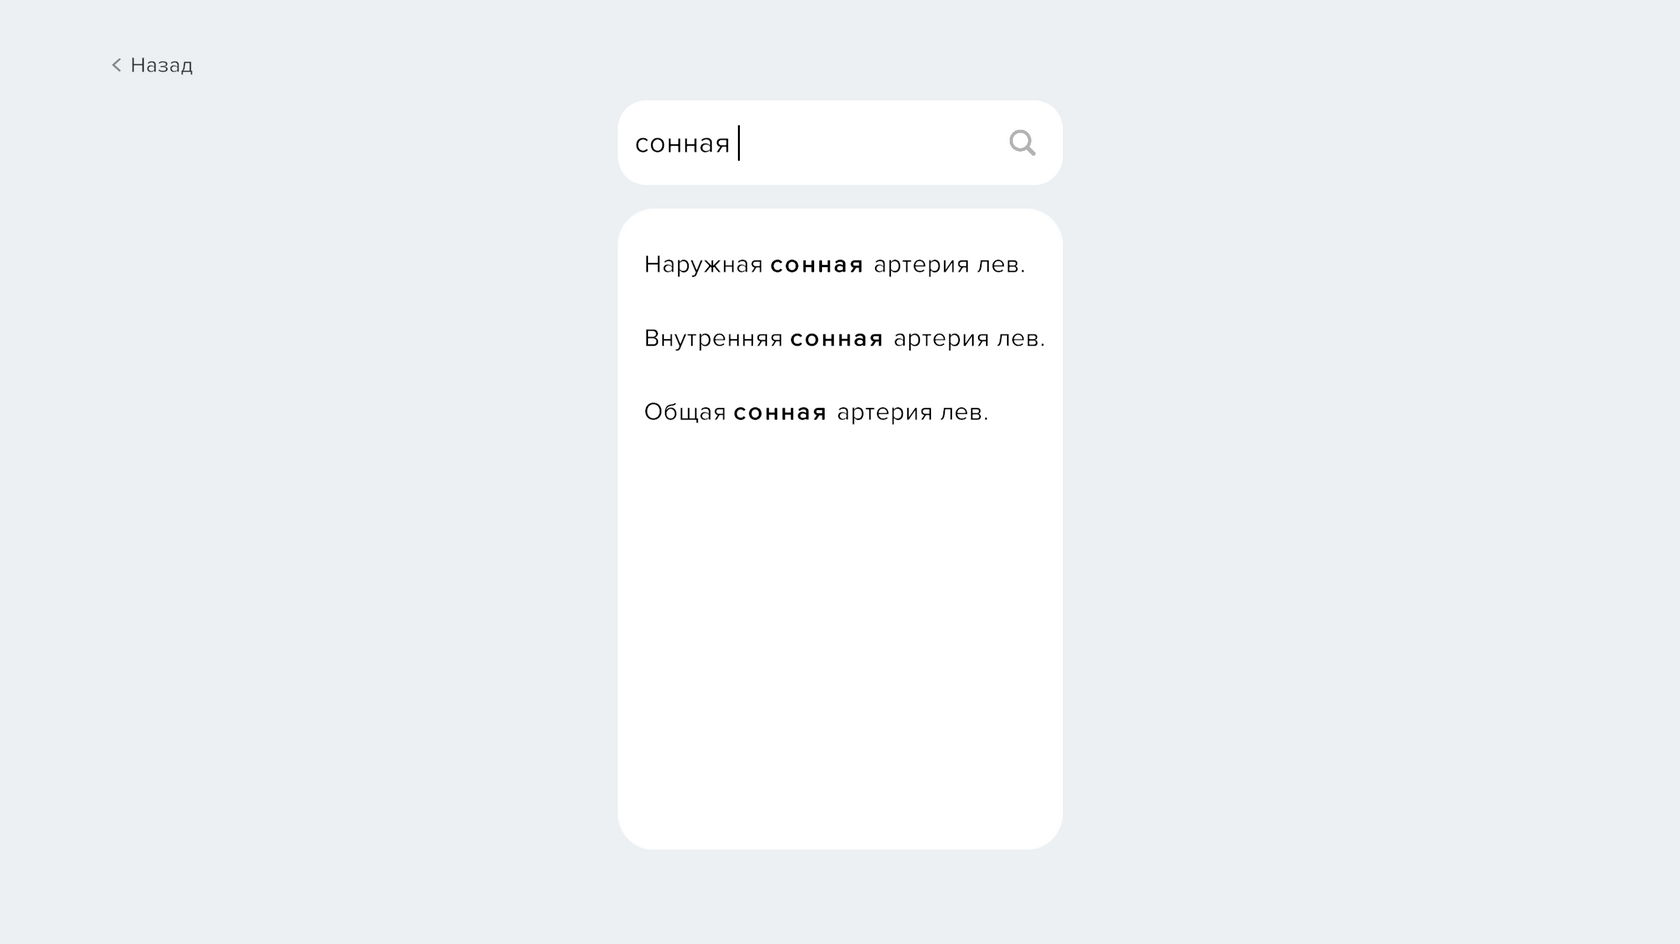
Element Search
The top panel has a search icon. Tap it to open the search window with an input field. Enter an element name in Russian or Latin and Humio will suggest matches. Selecting a match opens the model containing that element and focuses the camera on it. You can also open search from the main menu.
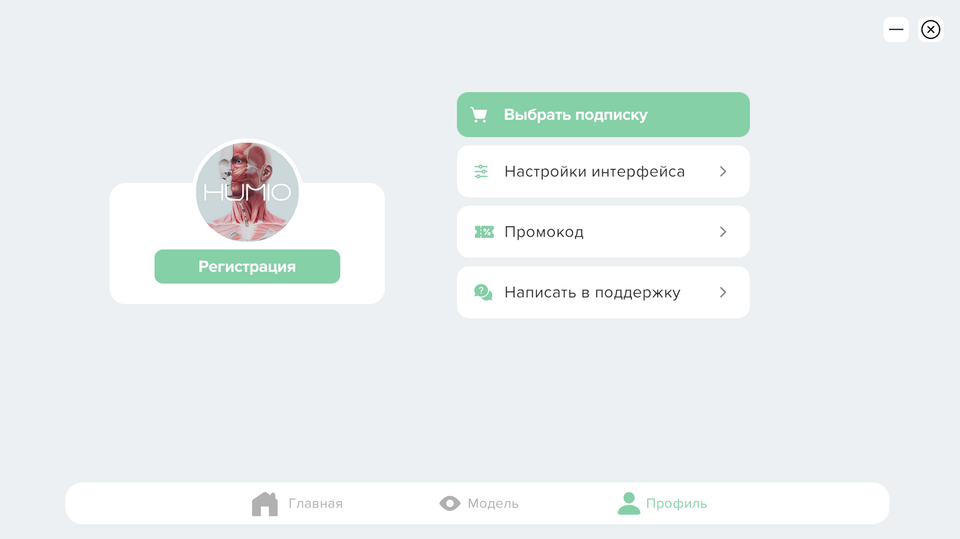
Profile
The Profile section lets you personalize Humio. You can manage interface settings, enable useful display modes, choose a language and contact support if needed.
Interface settings are saved automatically, so you do not need to set them again on the next launch on this device.
Interface Settings
The Interface Settings screen controls the model's visual presentation and behavior. All settings apply immediately.
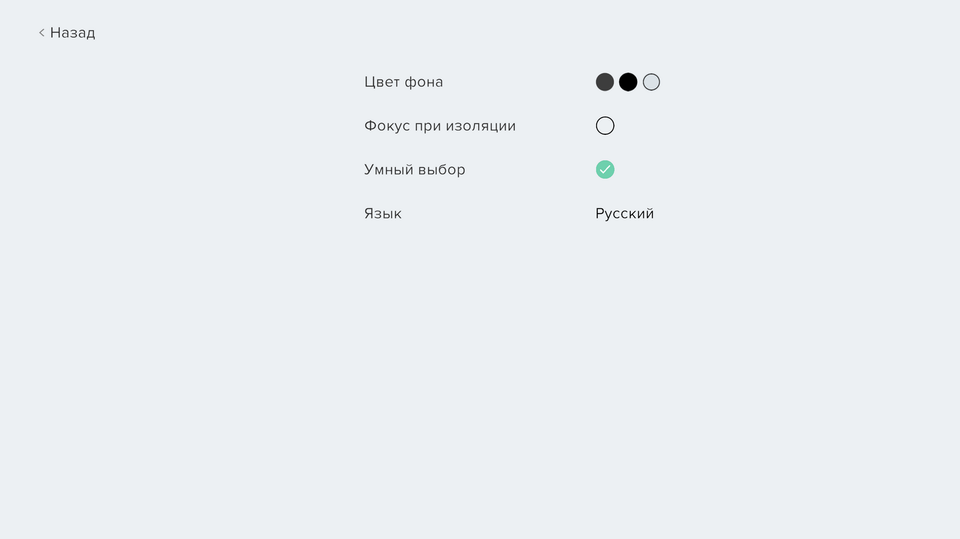
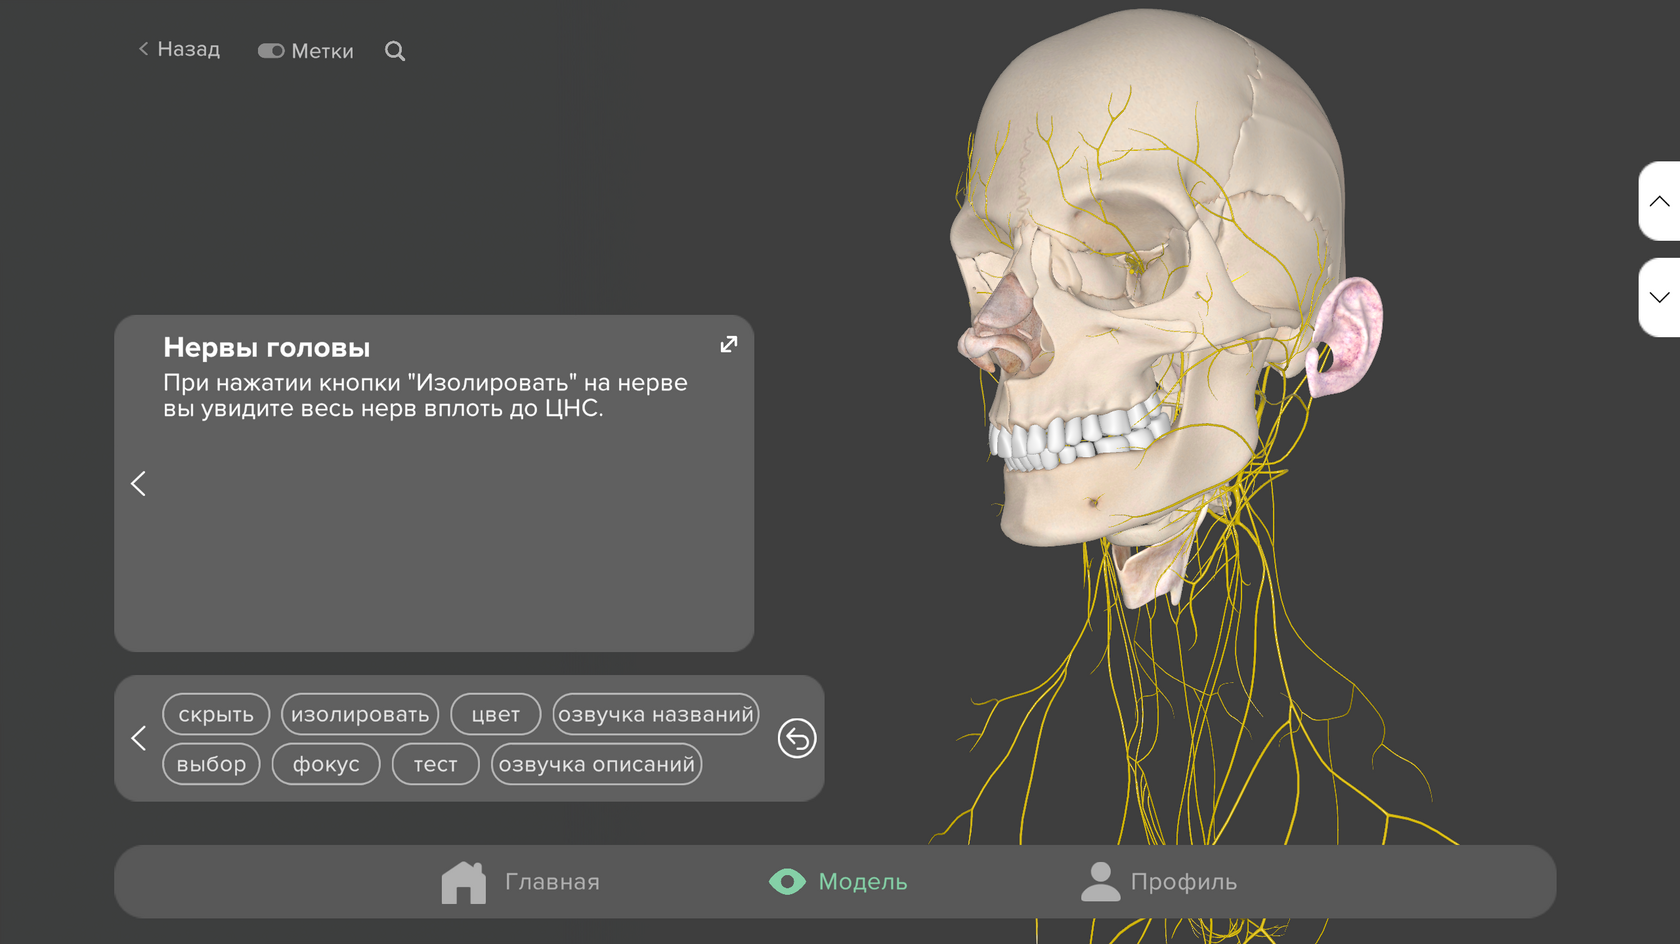
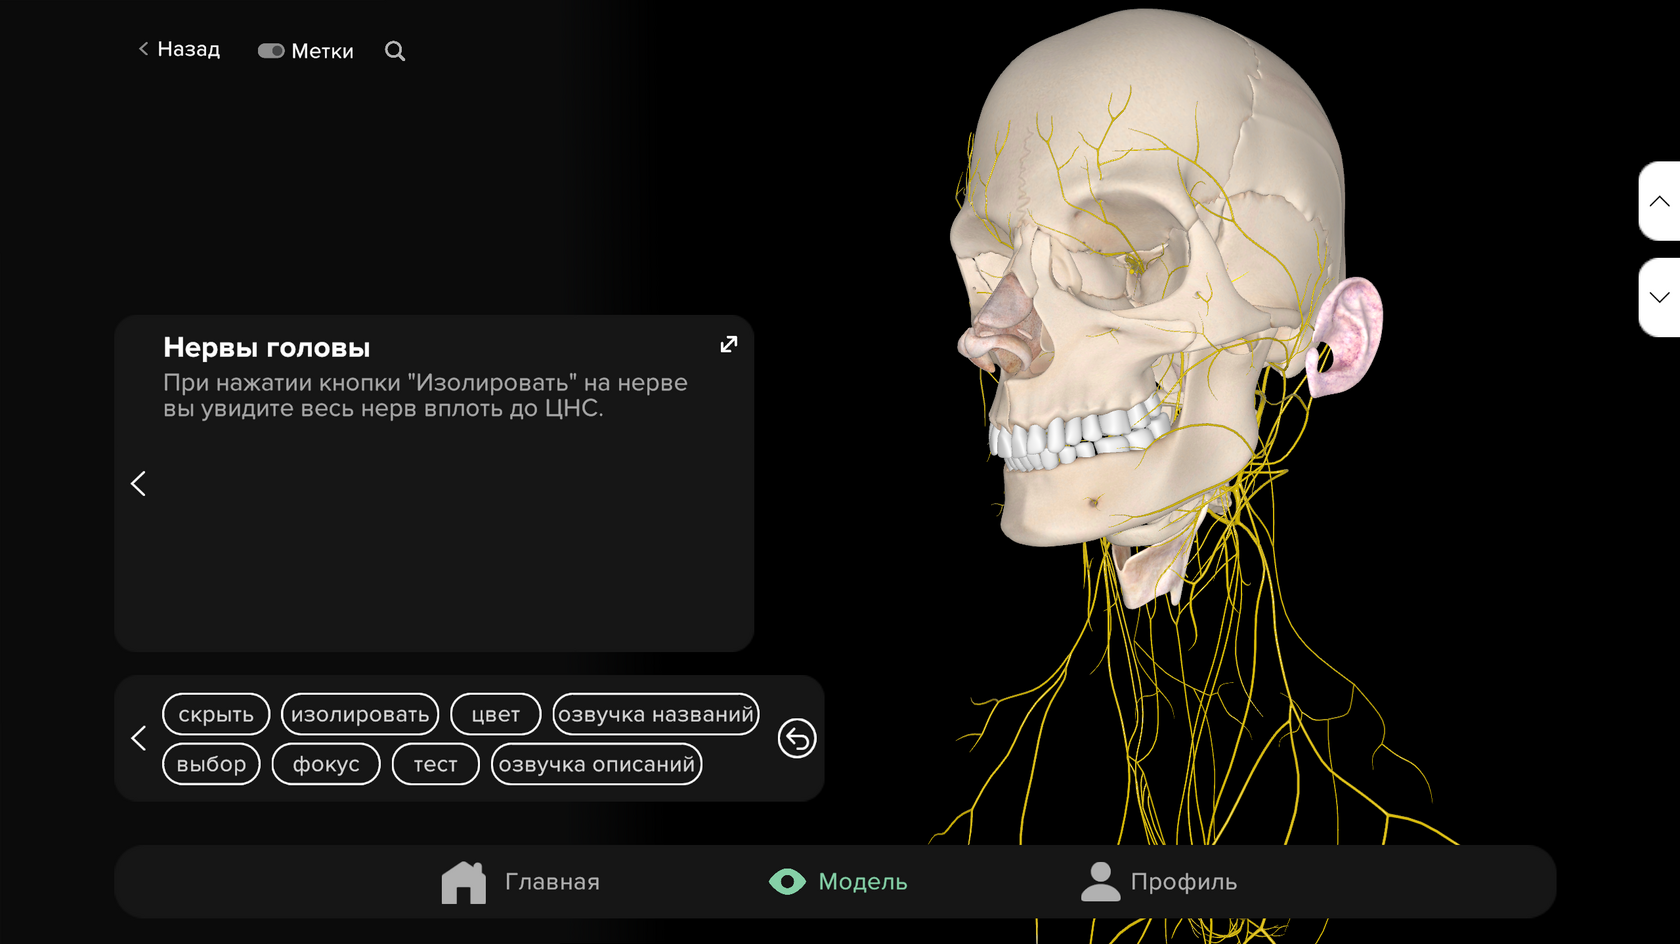
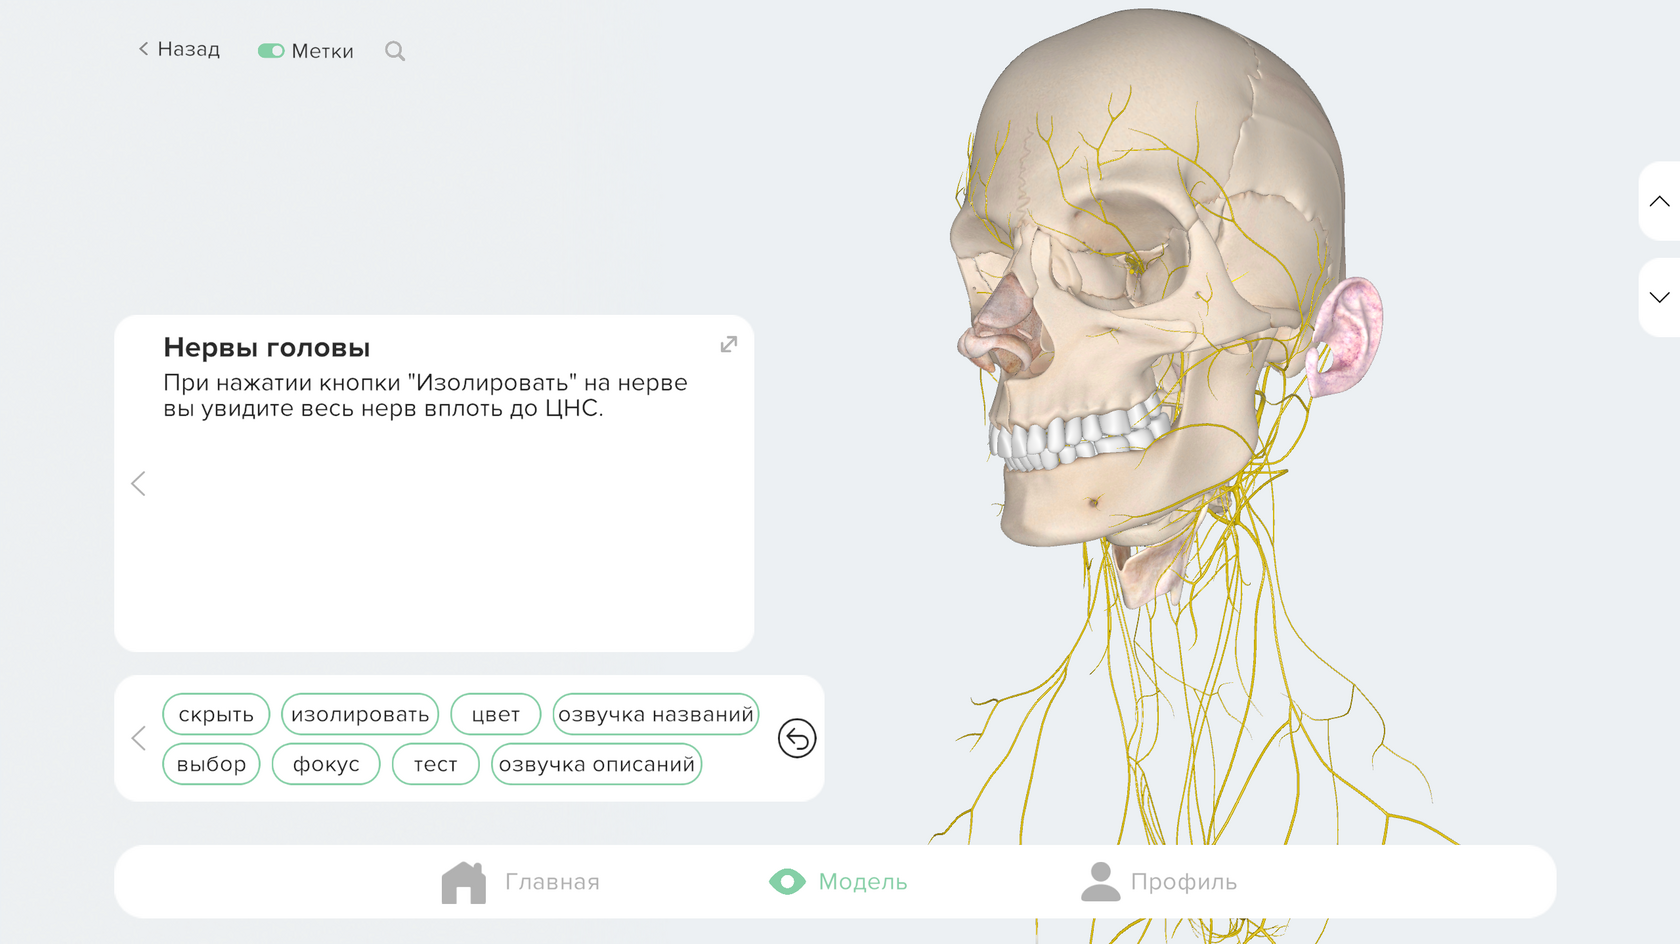
Background color — lets you choose the scene background. White works well in bright light. Dark gray is the default neutral option. Black focuses attention on the models, especially during classroom demonstrations.
Changing the background color affects only the visual environment, not the 3D model itself.
Focus on isolation — controls camera behavior when elements are isolated. When off, the model stays in its current position. When on, the camera automatically centers on isolated elements.
Smart selection — controls how objects look when selected. When smart selection is off, the selected element is highlighted and the rest remain unchanged. When it is on, the selected element keeps its visual state while surrounding structures become lighter or darker, focusing attention without changing the element's color.
Language — changes interface labels, anatomical structure names and voiceover language. Russian and English are currently available.
Account
To use the app fully and keep data across devices, create an account. If you are not registered or signed in, the Profile section shows Register and Choose subscription buttons.
Registration
Tap Register to open the account creation form. These registration options are currently available:
Google — the fastest option. Tap the Google icon and sign in with your Google account.
Login and password — enter your name, email and password. The password must contain at least 8 characters, uppercase and lowercase letters. Then tap Register.
Your account will be created and you will be able to sign in on two additional devices.
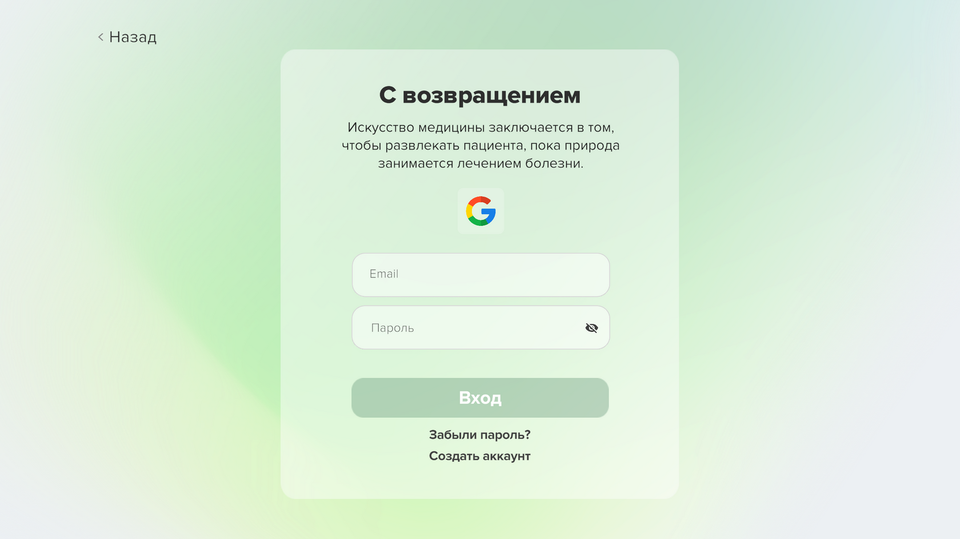
Sign-in and Password Recovery
If you already have an account, tap Register and then Already have an account? to switch to the sign-in page. Tap the Google icon if you created the account with Google, or enter your login and password. If you forgot your password, tap Forgot password? and follow the recovery instructions.
Subscription and Trial Period
After installing the app, a 1-day trial period starts on first launch. During the trial, full functionality is available. After it ends, access is limited: you can still view models, but object selection, tools and layer navigation are disabled. To restore full functionality, choose one of 4 access options:
| Plan | Price |
|---|---|
| 1 month | 390 RUB |
| 1 year | 2990 RUB |
| 3 years | 7900 RUB |
| Lifetime | 14900 RUB |
To purchase access:
- Open the Profile section.
- Tap Choose subscription.
- Choose the plan you need.
- Tap Go to payment.